Create a product on Shopify
In order to create a successful e-Commerce store, it is vital to master product management. Adding a product on Shopify is the basic action and the first step you need to know before you start selling to customers.
We will walk you through a step-by-step guide below to show you how to do it in detail.
Add a new product
Go to Shopify – Products All products, then click on Add product.

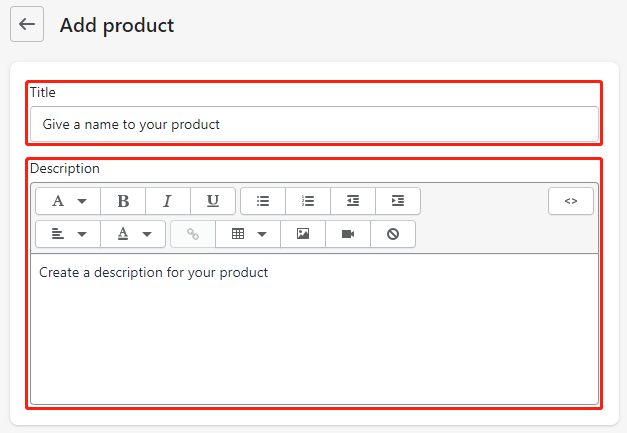
In the new product window, you can add the product name and description. You can use the name you want and add the description you like.
Media
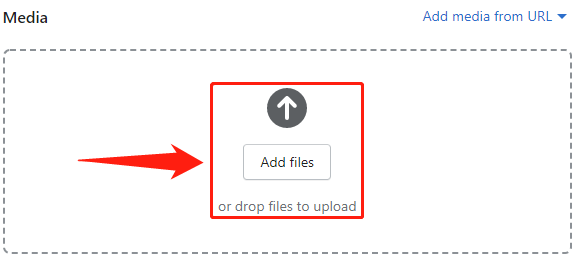
In the media window, you can add the picture to use for your product by clicking Add files or drop files to upload. You can also add media from URL.
Pricing
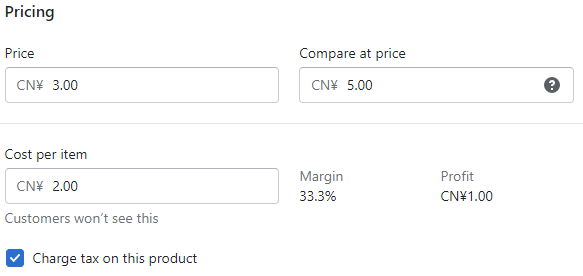
In the Pricing window, you can set the product price and Compared price. You can also input the product cost to calculate your margin and profit.
Inventory
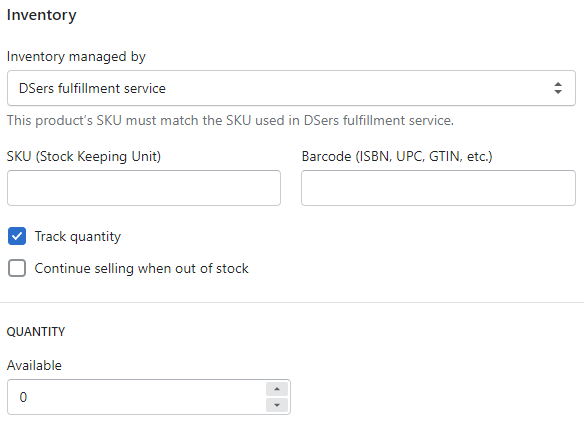
You can set the inventory managed by Shopify or DSers and edit SKU and Barcode in the Inventory window.
Shipping
If you’re selling a physical product, check the box below.
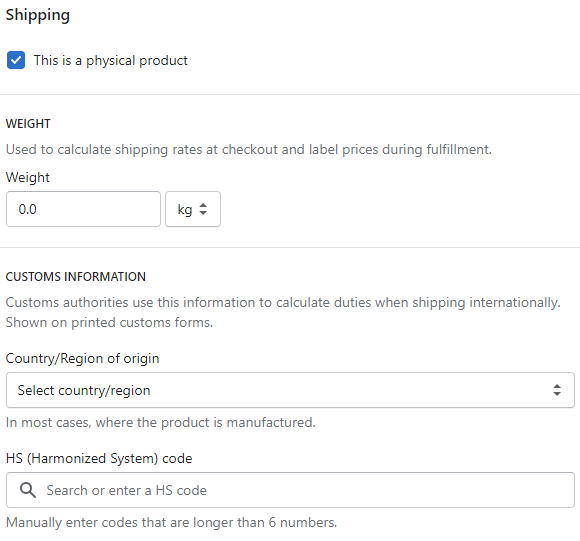
Then you can set the weight and the customs information.
Variants
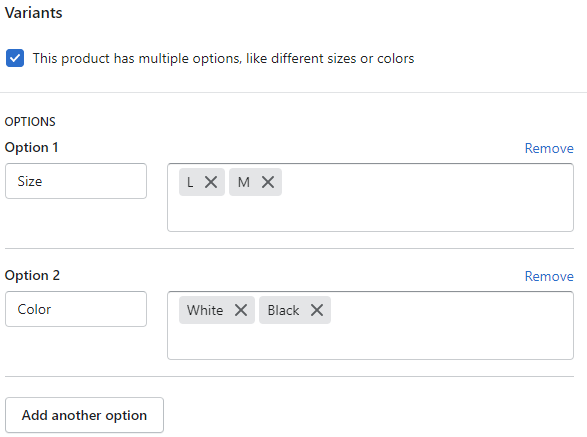
If the product has multiple options, check the box below.

You can add different options and edit it according to your needs.
Search engine listing preview
In search engine listing preview tab, you can edit the page title and description to see how it might appear in the search engine.

After you finished setting everything you want, change the product status to Active and click Save at the right top.
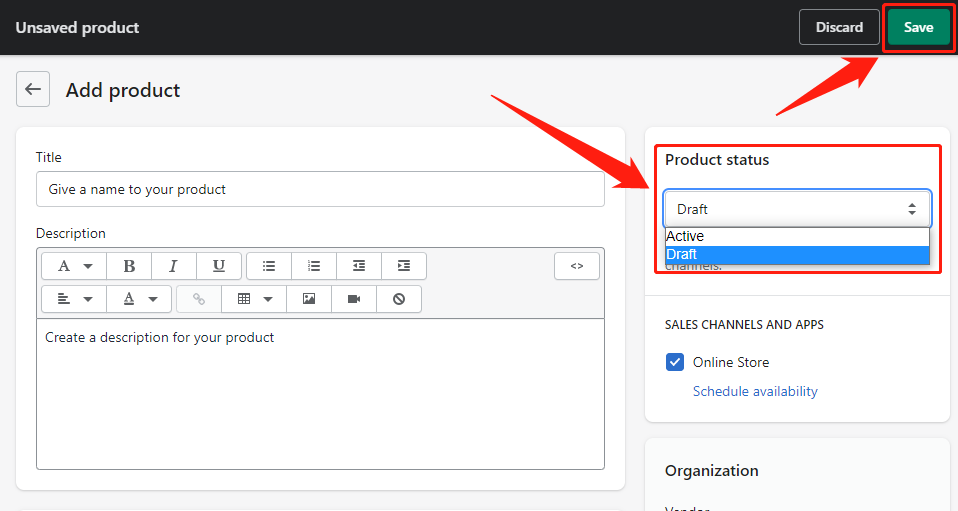
A notification will let you know once the product is Added successfully.

On DSers
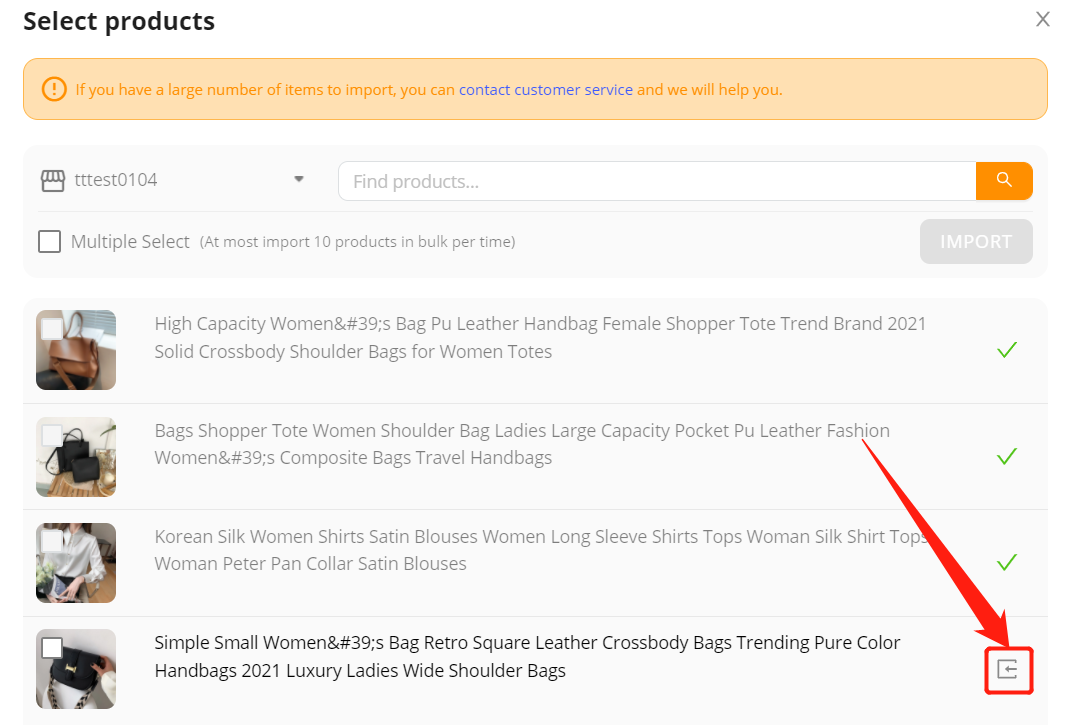
You can now go to DSers – My Products and click on Import Shopify products.
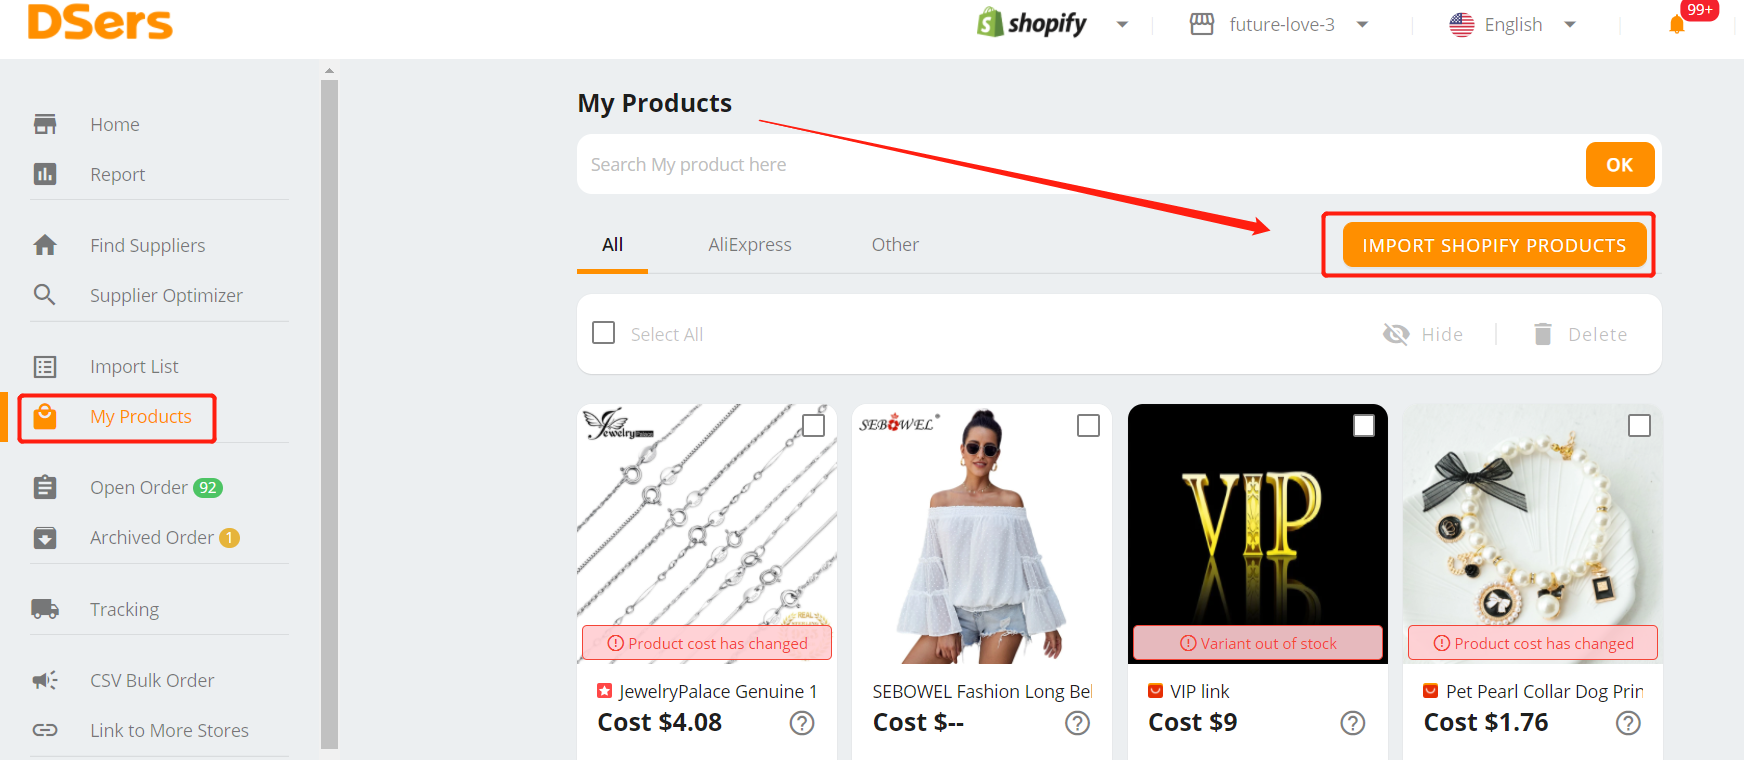
Your newly created product will appear in the list. You can import it to DSers by clicking on the right side.
The product will be in My Products. You will then connect it to AliExpress suppliers so that DSers can place the order of this product for you.
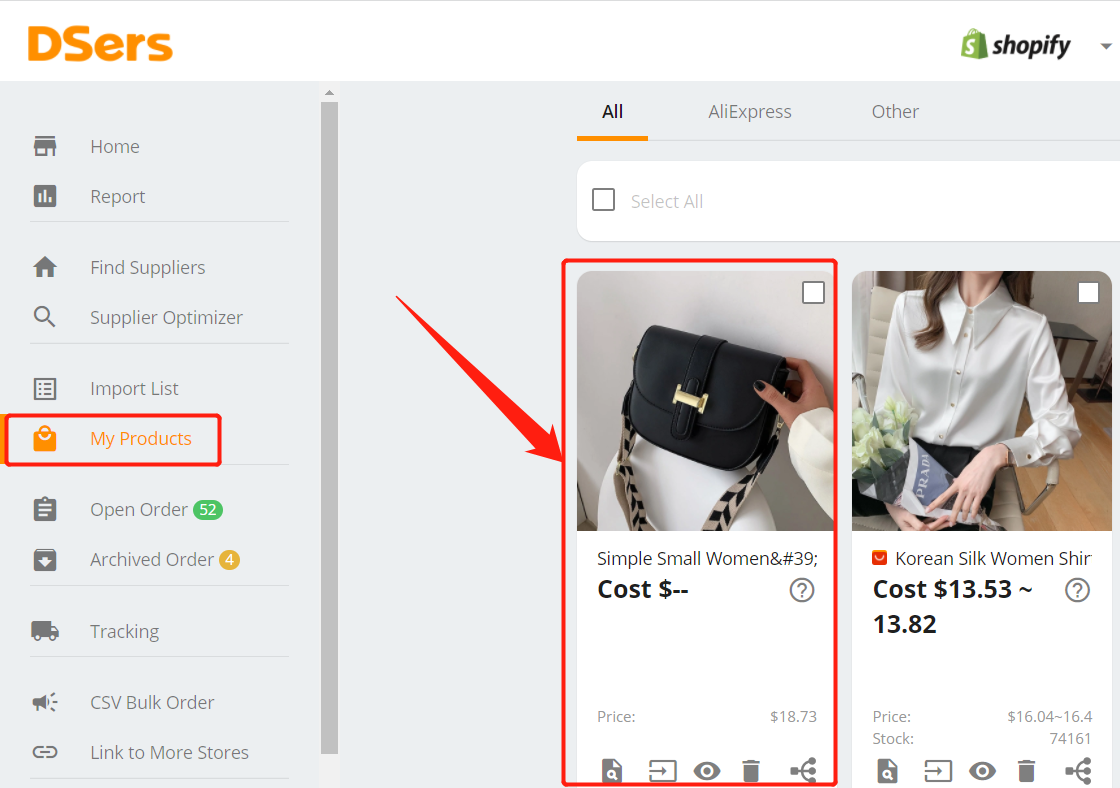
Connect AliExpress suppliers to your products


 Company
 Why Choose DSers
 Blog
Blog
 Help Center


 Live Chat